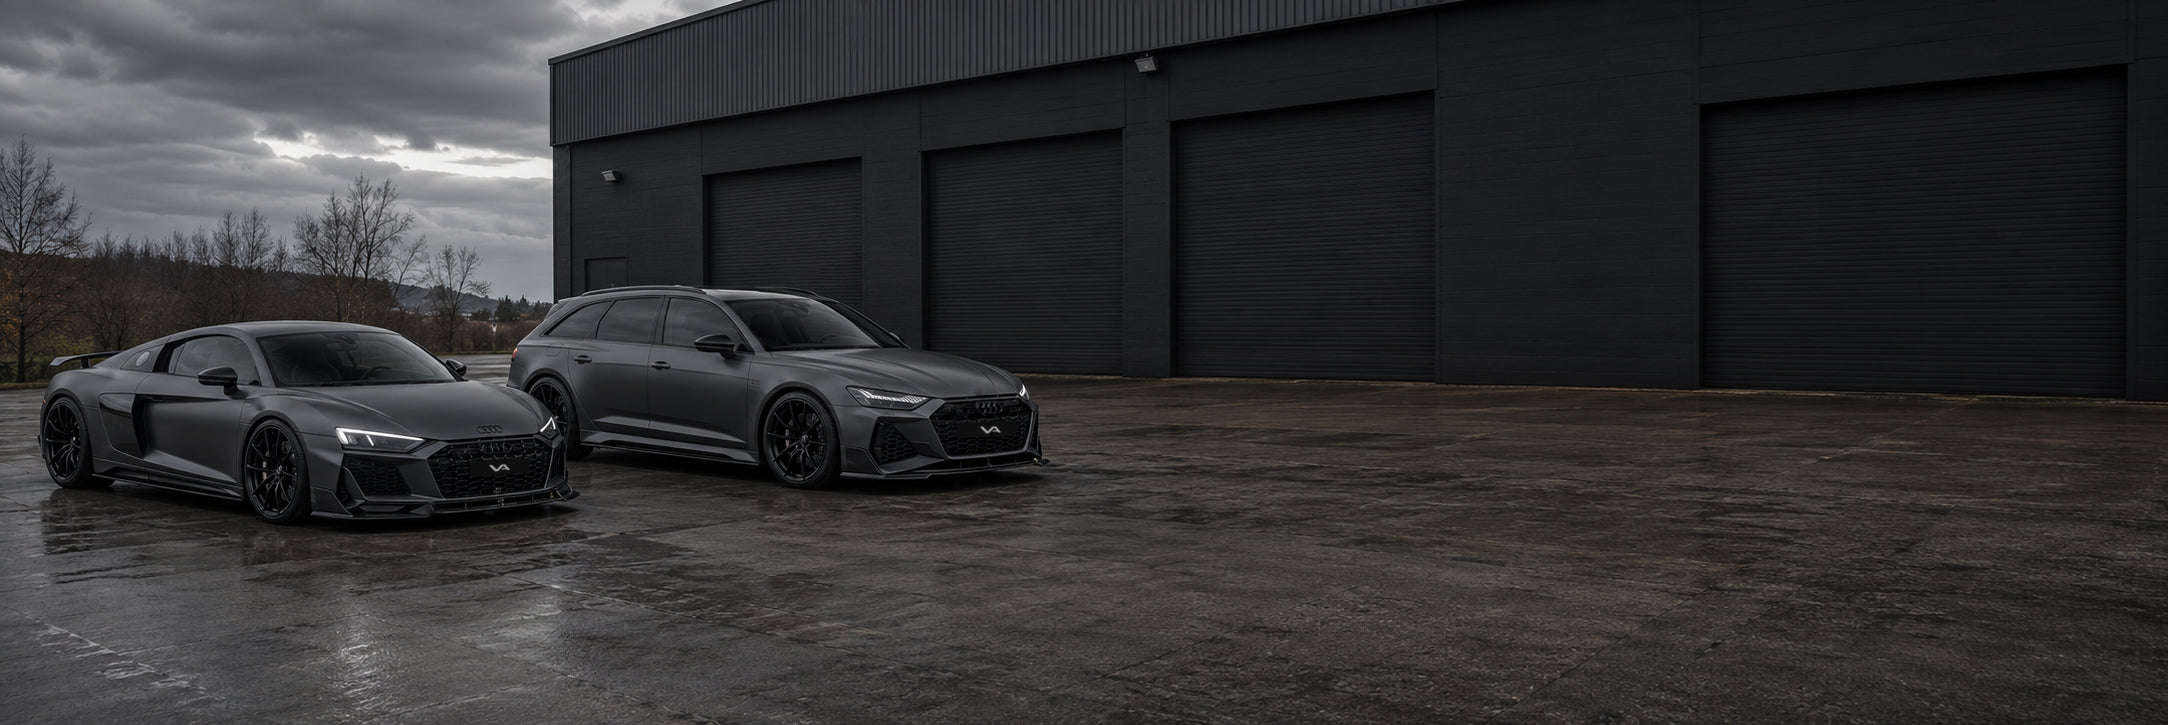

Building a comprehensive aerodynamic package for the Audi RS6 or RS7 C8 represents far more than simply bolting on carbon fibre components as budget allows. A properly executed aero build considers visual balance, aerodynamic synergy, and the practical realities of installation sequencing. This guide outlines a strategic approach to constructing a complete dry carbon package that transforms your C8 platform whilst maintaining the cohesive aesthetic that separates considered builds from haphazard modifications.
Understanding the Aero System: Why Sequencing Matters
The C8 RS6 and RS7 share identical aerodynamic foundations, making component selection interchangeable between variants. However, approaching these modifications as a system rather than isolated upgrades yields dramatically superior results both visually and functionally. Aerodynamic components work in concert—front splitters manage airflow that eventually reaches side skirts, which in turn direct air to rear diffusers. Installing components out of sequence can create visual incongruity and compromise the effectiveness of later additions.
Equally important is the practical consideration of access and installation complexity. Certain components require bumper removal or significant disassembly. Planning your build sequence around these access requirements prevents unnecessary repeated labour and reduces the risk of damage to previously installed parts during subsequent installations.
Phase One: Establishing the Foundation with Front Aero
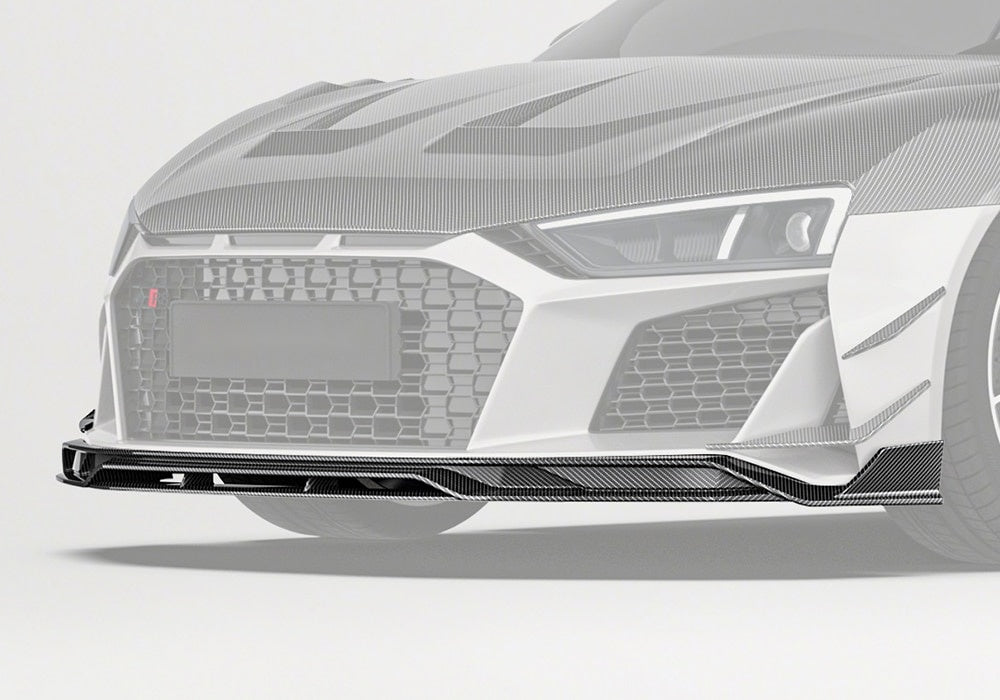
Every comprehensive aero build should commence at the front fascia, where aerodynamic management begins. The front splitter serves as the cornerstone of your package, making it the logical first purchase. For C8 owners, the choice typically centres on depth and aggression.
The RS6/RS7 C8 Carbon Fiber Front Splitter Lip offers an understated entry point—ideal for owners who require daily usability and face challenging road surfaces or aggressive speed ramps. This component establishes the carbon fibre aesthetic whilst maintaining practical ground clearance.
For those seeking more aggressive visual presence and improved front-end downforce, the V2 and V3 variants provide progressively deeper profiles. These options suit weekend cars or owners with access to predictable road surfaces. The key consideration here extends beyond aesthetics: a deeper front splitter sets visual expectations for the rest of your build. Installing a subtle front splitter then adding aggressive rear diffusers creates imbalance; conversely, a substantial front splitter demands equally purposeful rear treatment.
During this phase, consider whether Front Vent Wings/Canards complement your chosen splitter profile. These small but visually significant components attach to the front bumper's outer sections, adding width and aggression to the front aspect. Installation whilst the front bumper remains accessible—typically during splitter fitting—eliminates redundant disassembly later.
Phase Two: Lateral Aerodynamics and Visual Flow
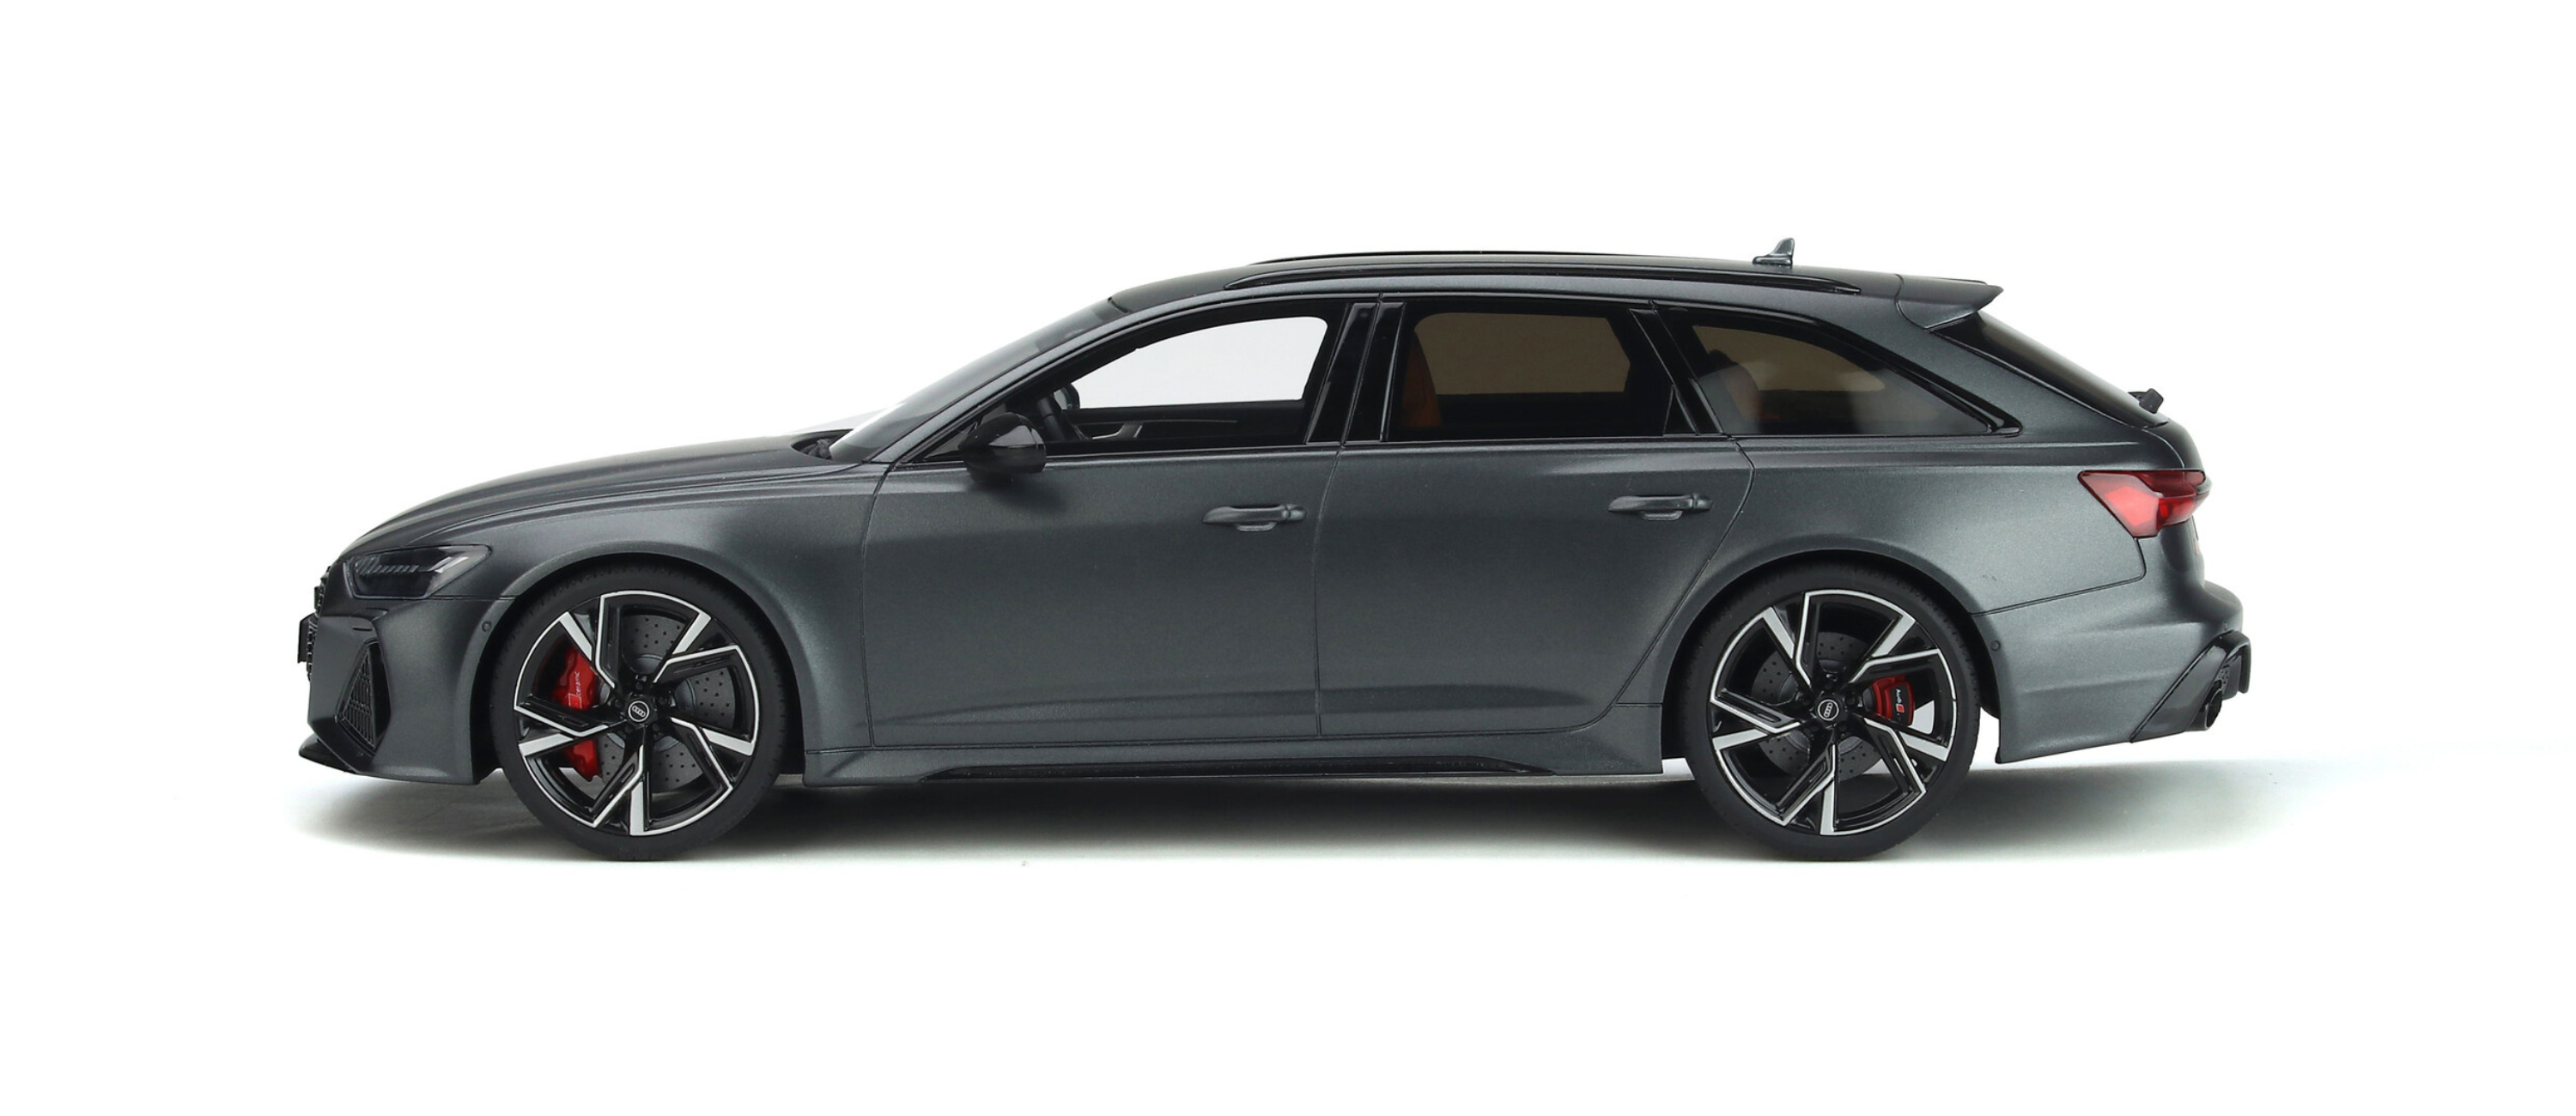
With the front established, attention turns to the lateral profile. Carbon Fiber Side Skirts Lip represent the critical link between front and rear aerodynamics, channelling airflow beneath the car whilst visually lowering the side profile. This creates the illusion of reduced ride height without compromising suspension geometry or ground clearance.
Side skirt installation typically proves more straightforward than front or rear components, requiring basic hand tools and minimal disassembly. However, precise alignment remains crucial. Side skirts must sit parallel to the ground and maintain consistent gaps with wheel arch liners. Misalignment here becomes immediately apparent and undermines the quality appearance of your entire build.
This phase also permits assessment of your emerging package. Standing back to evaluate front and side components together reveals whether your rear treatment requires aggressive or subtle execution. The goal remains cohesion—each element should appear intentional rather than randomly accumulated.
Phase Three: Completing the System with Rear Aero
The rear fascia offers multiple carbon options for the C8 platform, allowing for nuanced customisation based on aesthetic preference and functional requirements. The decision tree begins with diffuser selection.
The Carbon Fiber Rear Bumper Diffuser Lip Splitter provides foundational enhancement, adding visual depth to the rear valance whilst maintaining OEM diffuser compatibility. For owners seeking more dramatic transformation, the V2 variant offers increased projection and more pronounced diffuser blades.
Rear component selection should mirror front aggression levels. An aggressive front splitter paired with subtle rear treatment appears unfinished; conversely, dramatic rear diffusers behind a modest front splitter suggests confused priorities. This visual balance separates thoughtful builds from component collections.
Finally, consider smaller accent pieces that provide finishing touches. Rear bumper trim components occupy spaces around the diffuser and exhaust cutouts, eliminating remaining gloss black plastic and completing the carbon transformation. These details cost relatively little but contribute disproportionately to the perception of build completion.
Fitment Principles: Achieving Professional Results
Premium dry carbon components warrant professional installation standards. Each component arrives with specific mounting provisions—typically a combination of supplied bolts, existing mounting points, and 3M VHB adhesive tape. The critical principle: never force fitment. Quality carbon components should align naturally with minimal persuasion.
Prior to final installation, perform comprehensive test fitting with all supplied hardware loosely installed. This permits adjustment and reveals any potential clearance issues before adhesive commitment. Clean all mounting surfaces thoroughly with isopropyl alcohol, removing any wax, polish, or contamination that might compromise adhesive bonds.
Temperature matters significantly. Adhesive-backed components should never be installed below 15°C ambient temperature, as cold conditions prevent proper adhesive curing. Similarly, avoid installation in direct sunlight during summer months—excessive heat causes premature adhesive activation and prevents proper positioning adjustment.
Long-Term Care: Protecting Your Investment
Dry carbon fibre's remarkable properties include exceptional durability, but longevity demands appropriate maintenance protocols. Unlike wet carbon or forged composite, quality dry carbon requires minimal intervention—the material itself remains dimensionally stable and resistant to UV degradation when properly manufactured.
Regular washing with pH-neutral automotive shampoo prevents contaminant accumulation. Avoid aggressive pressure washing directly at panel gaps or mounting points, as excessive water pressure can compromise adhesive bonds over time. For persistent contamination, use dedicated carbon-safe cleaners rather than solvent-based products that might affect clear coat.
Inspect mounting points periodically, particularly after spirited driving or track use. Look for any movement or gap changes that might indicate loosening hardware. Adhesive bonds should be checked for any lifting at edges—early detection permits simple reapplication before complete bond failure.
Apply quality carnauba wax or ceramic coating designed for carbon fibre every three to six months. This protective layer enhances gloss whilst providing additional UV protection and contamination resistance. The result: carbon components that maintain their deep lustre and architectural weave definition for years rather than developing the faded, hazy appearance that plagues poorly maintained examples.
The Completed Vision
A properly staged carbon aero build transforms the C8 RS6 or RS7 from premium sports estate to purposeful performance machine. The key lies in systematic approach—considering each component's relationship to the whole rather than viewing modifications in isolation. This methodology produces builds that appear factory-considered, where each carbon element contributes to a cohesive visual statement that enhances rather than overwhelms Audi's original design language.